Melt-in-your-mouth chocolate cake so rich, so fudgy—it’s pure decadence in every bite.
This viral sensation has taken the internet by storm, and for good reason. With a silky-smooth texture and deep cocoa flavor, it’s the kind of dessert that leaves you craving more.
Simple ingredients, easy steps, and bakery-level results make this a must-bake treat.
Get ready to experience chocolate cake like never before!
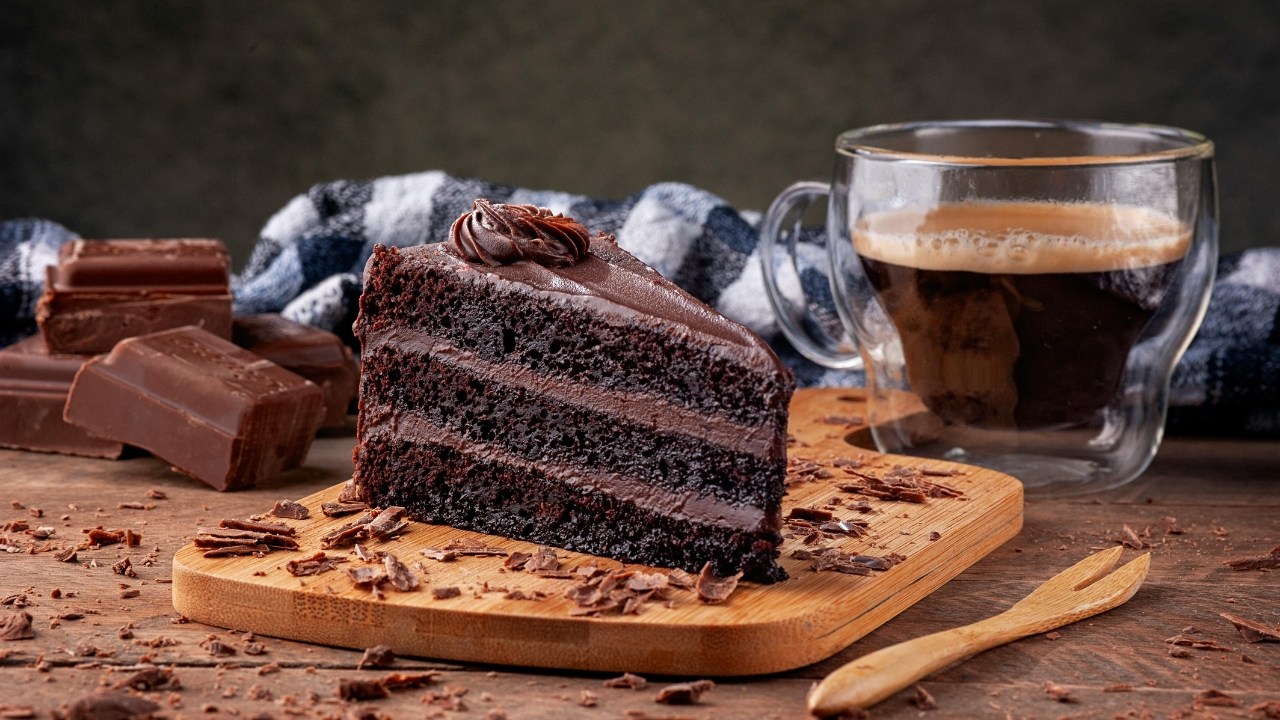
1. Melt-in-Your-Mouth Chocolate Cake
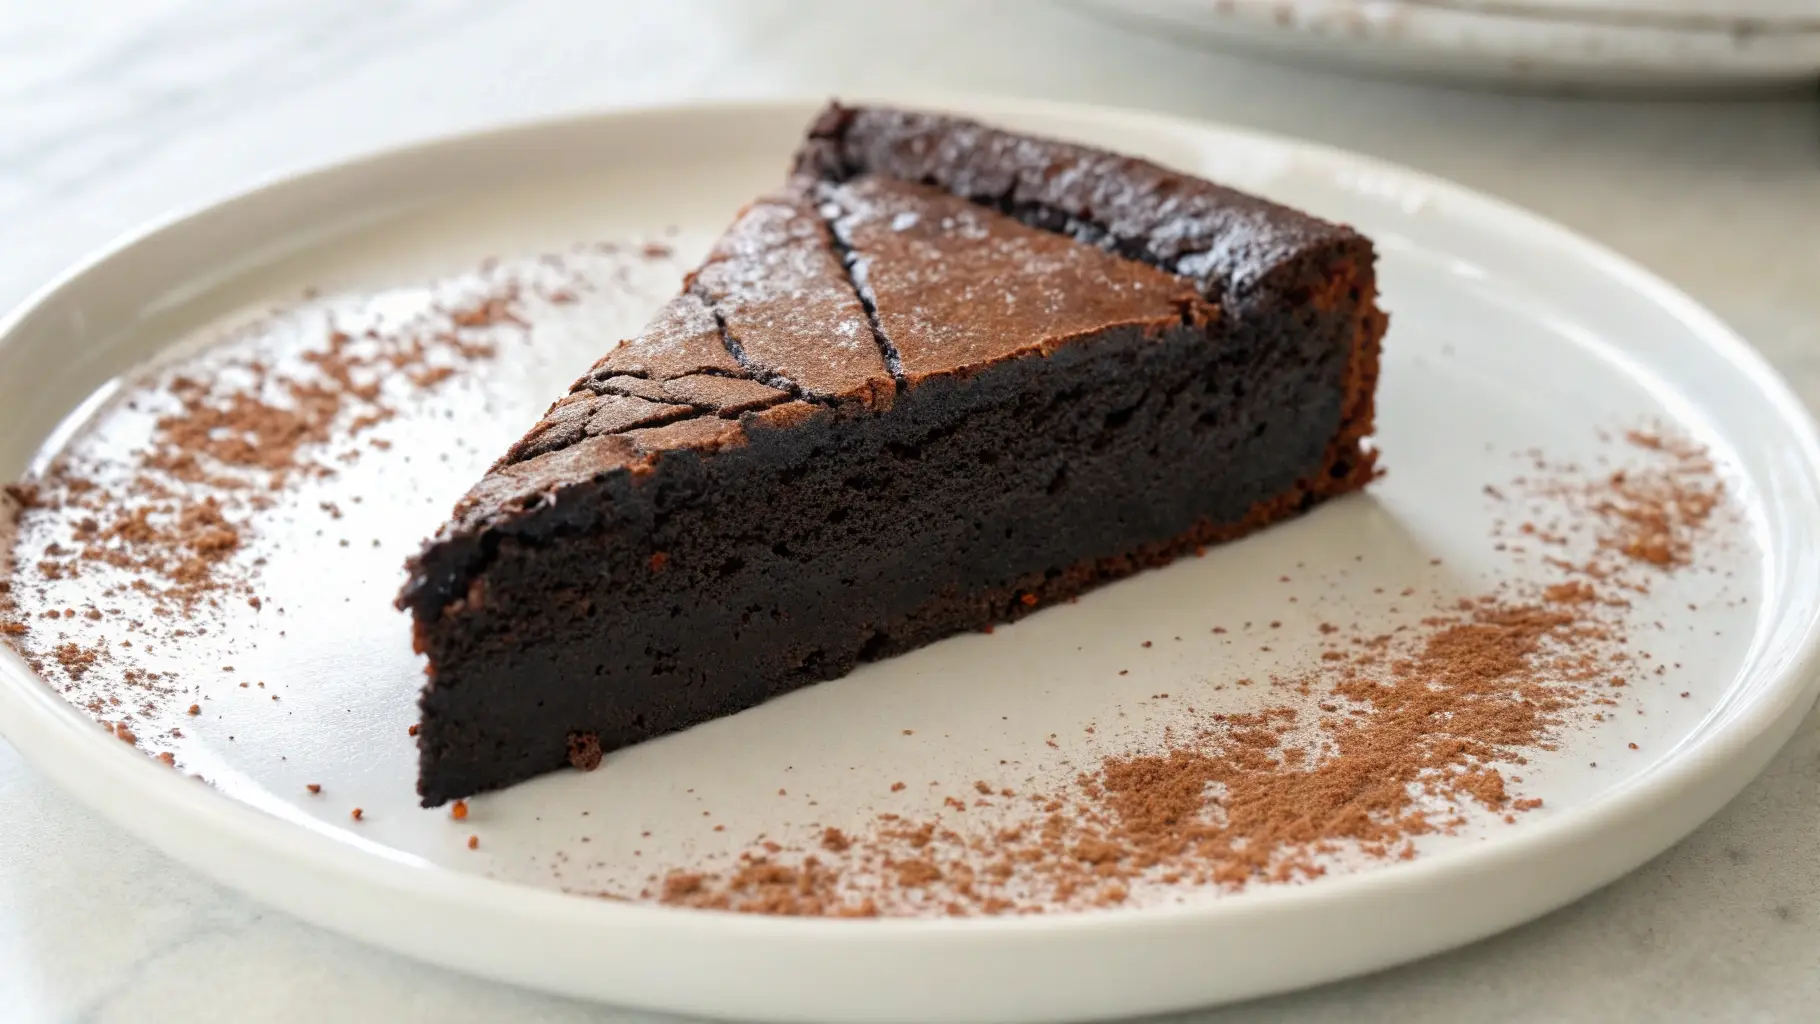
There’s something truly magical about a slice of rich, decadent chocolate cake that melts in your mouth.
It’s for a celebration, a comforting treat, or a moment of self-indulgence, this Melt-in-Your-Mouth Chocolate Cake is the perfect dessert to satisfy your cravings.
What makes this cake so special? It has an incredibly moist texture, a deep chocolate flavor, and a light yet fudgy consistency that feels like a cross between a brownie and a souffle.
Plus, it’s easy to make with just a handful of ingredients, making it a foolproof recipe for both beginners and experienced bakers alike.
What Makes This Recipe Special?
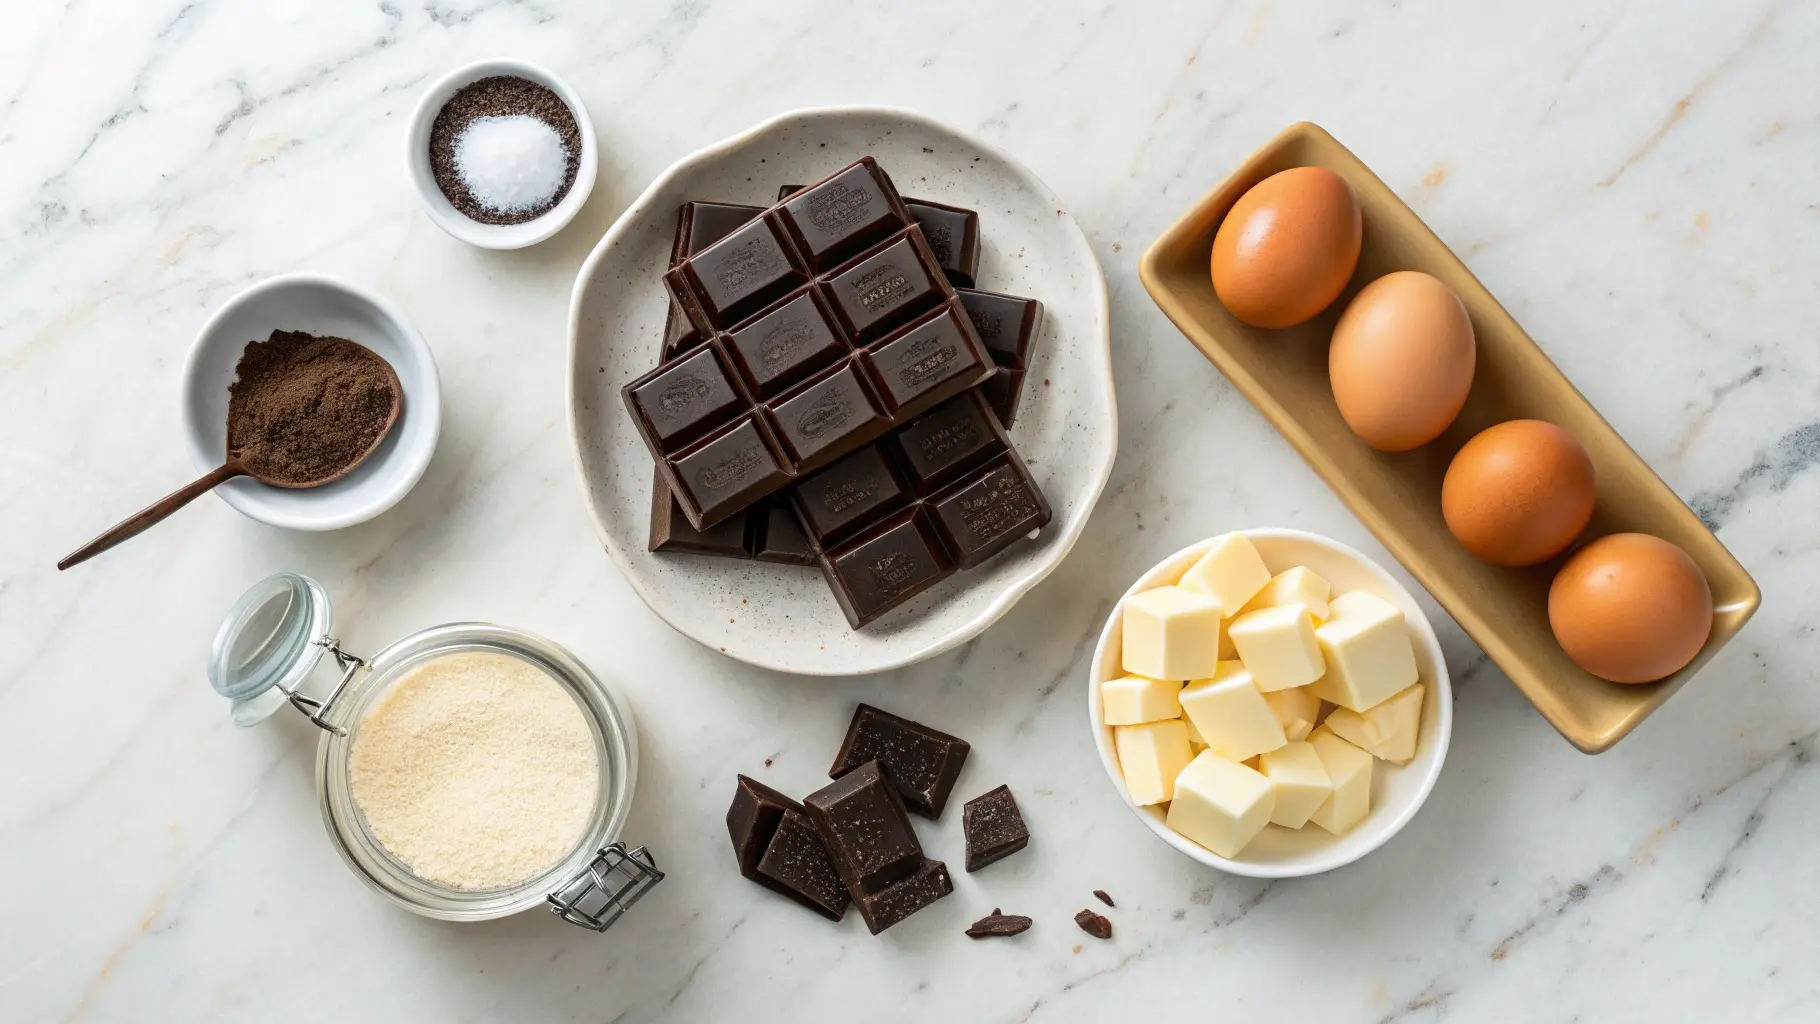
This chocolate cake stands out because of its simplicity and luxurious taste. With just five main ingredients, it creates an ultra-rich and silky texture without requiring fancy techniques or hard-to-find ingredients.
The key to its unique melt-in-your-mouth quality lies in the balance of butter, chocolate, and eggs, which give it a natural, velvety smoothness.
It’s perfect for intimate dinners, birthdays, or even as a comforting homemade treat after a long day.
Best of all, it’s a recipe that requires minimal effort but delivers maximum flavor, making it an excellent choice when you need a show-stopping dessert without the hassle.
Related Article:
No Time? 15 ‘Lazy Gourmet’ Meals That Look Fancy (But Aren’t)
Why You’ll Love This Recipe:
If you’re a chocolate lover, this cake will be your new go-to dessert. It’s intensely chocolatey, incredibly moist, and easy to make in just a few simple steps.
There’s no need for fancy frosting or decorations—this cake is all about letting the deep, rich flavor of chocolate shine through.
Plus, it’s versatile! You can serve it warm for a lava cake effect or let it cool for a dense, fudgy consistency.
Related Article:
Essential Information
Prep Time: 25 minutes
Cook Time: 40 minutes
Cooling Time: 2 hours
Total Time: 3 hours 5 minutes
Yield: 10 slices
Serving Size: One 9-inch round cake
Shelf Life: Best enjoyed within 2-3 days
Storage: Store in an airtight container at room temperature for 2 days, refrigerate for up to a week, or freeze for a month.
Equipment Needed
- Mixing Bowls: Medium and large sizes for easy ingredient preparation.
- Whisk or Electric Mixer: A whisk works, but an electric mixer makes things easier.
- Spatula: Essential for folding ingredients smoothly.
- Measuring Cups & Spoons: Accurate measurements ensure a perfect texture.
- Cake Pan: A 9-inch round pan, preferably nonstick.
- Parchment Paper: Helps with easy removal.
- Alternative Equipment: A springform pan can also work well, making it easier to serve.
- Storage Containers: Airtight containers to keep leftovers fresh.
Ingredients
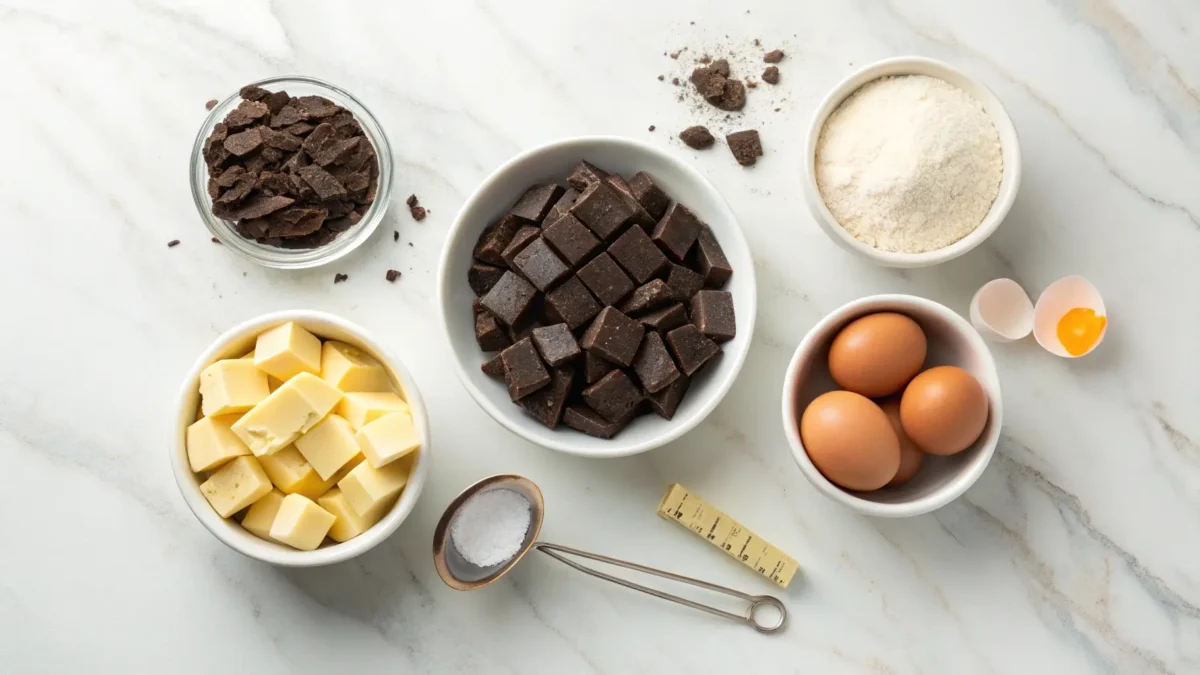
Main Components
- 200g (1 cup minus 2 tbsp) unsalted butter, diced – Adds richness and moisture. Substitute with coconut oil for a dairy-free option.
- 200g (7 oz) bittersweet chocolate, chopped – High-quality chocolate makes a huge difference! Use at least 70% cocoa for the best flavor.
- 180g (1 cup minus 2 tbsp) unrefined blond cane sugar – Provides a deep caramel-like sweetness.
- 4 large eggs – Essential for structure and silkiness.
- 1 tbsp all-purpose flour – Just a touch to bind the ingredients. Use almond flour for a gluten-free version.
Optional Add-ins
- A pinch of fleur de sel or kosher salt enhances the chocolate flavor.
- A teaspoon of espresso powder deepens the richness.
- A splash of vanilla extract adds complexity.
Instructions
- Preheat & Prep – Preheat your oven to 180°C (350°F). Line the bottom of a 9-inch cake pan with parchment paper and grease the sides.
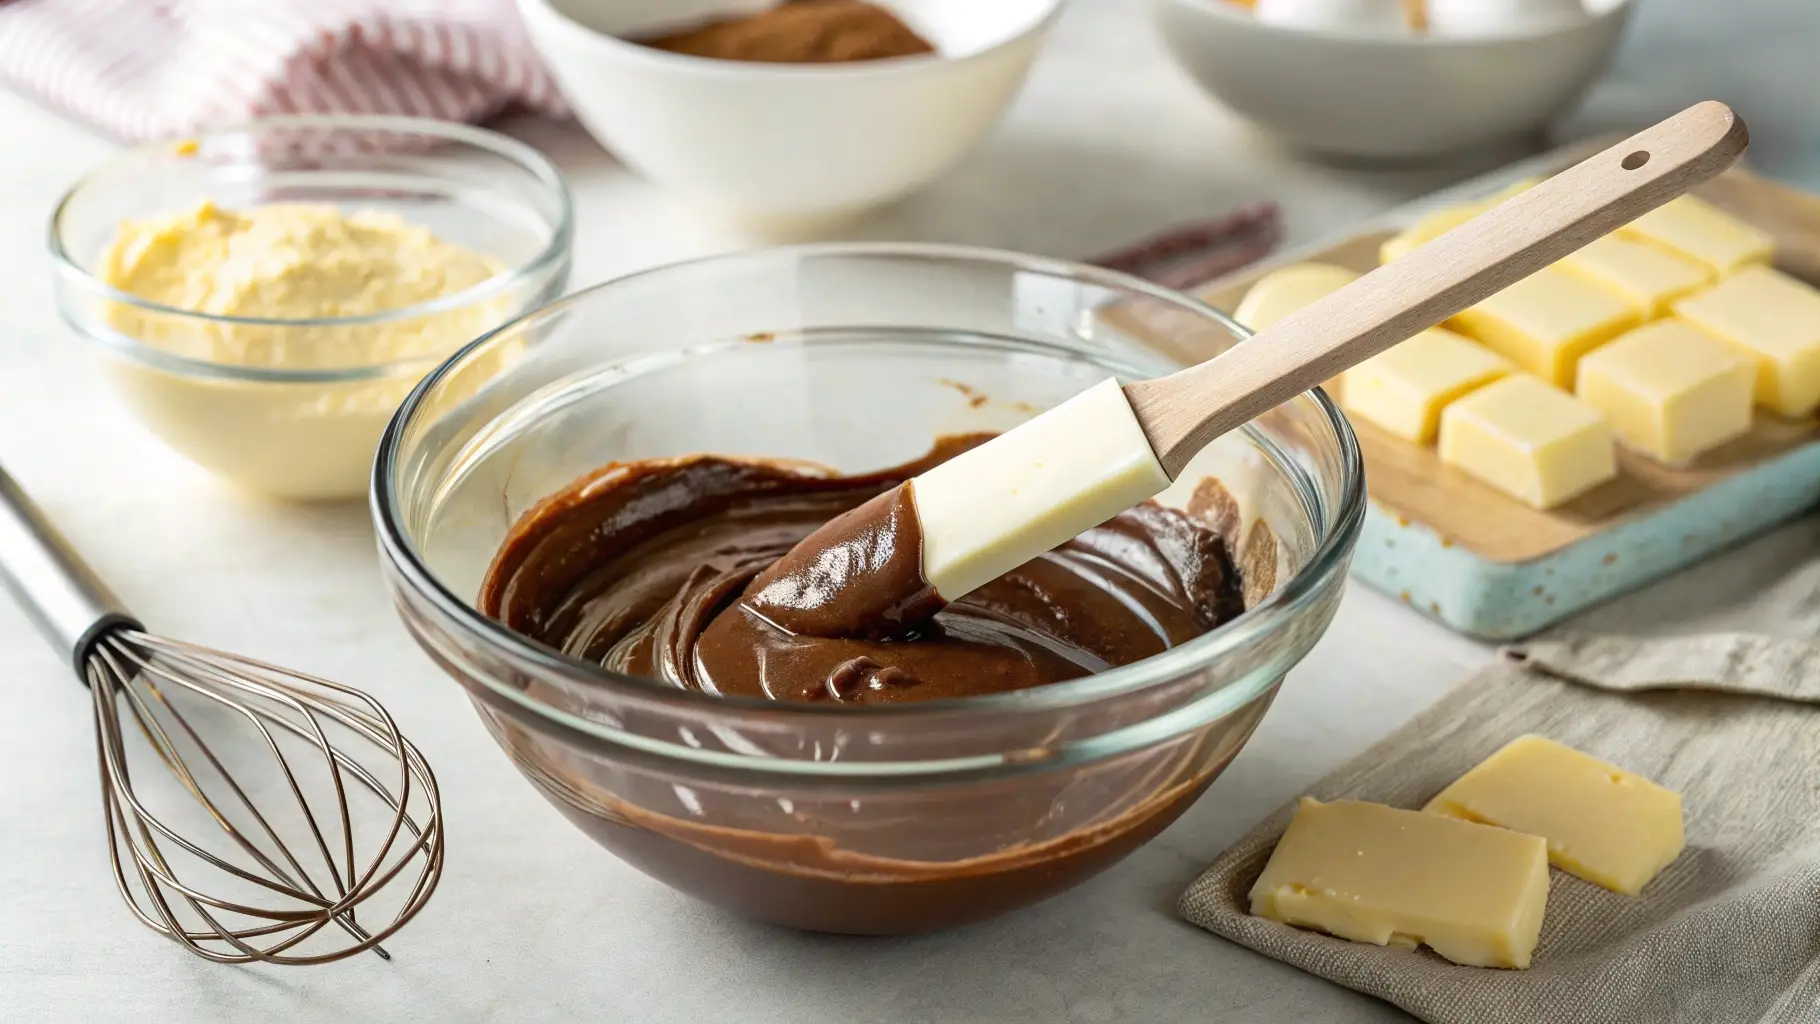
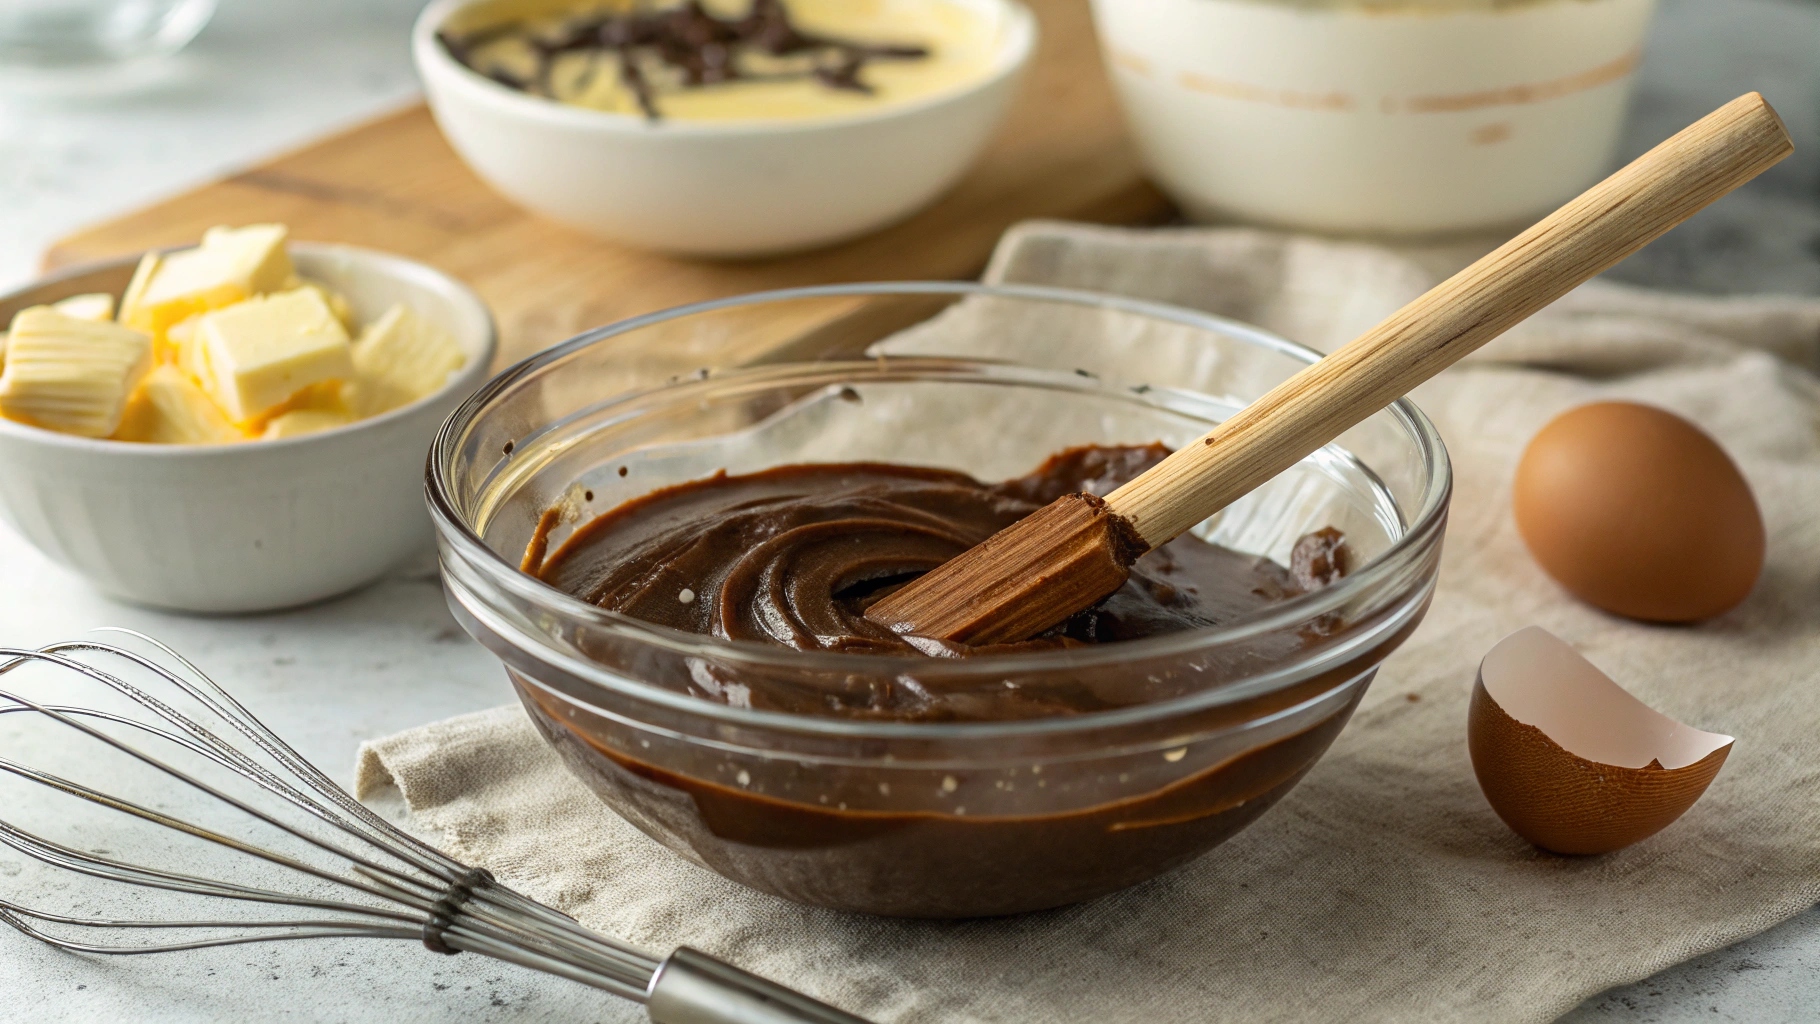
- Melt Chocolate & Butter – In a heatproof bowl, gently melt the butter and chocolate over a double boiler or in the microwave in 20-second intervals, stirring frequently. Let it cool slightly.
- Mix Sugar & Eggs – In a separate mixing bowl, whisk the sugar and eggs until pale and slightly thickened.
- Combine Mixtures – Gradually pour the melted chocolate mixture into the egg mixture, stirring continuously.
- Incorporate Flour – Sift in the flour and fold gently until no streaks remain.
- Bake – Pour the batter into the prepared pan and bake for about 40 minutes. The top should be set, and a toothpick inserted in the center should come out with a few moist crumbs.
- Cool & Serve – Allow the cake to cool for 10 minutes in the pan before running a knife around the edge and inverting it onto a cooling rack. Let it cool completely before serving.
Pro Tips for Success
- Use the Best Chocolate You Can Find – Since chocolate is the star, choose high-quality bittersweet chocolate for a deep, luxurious flavor.
- Don’t Overbake! – The center should still be soft when removed from the oven for that signature melt-in-your-mouth texture.
- Make Ahead – The batter can be prepared a day in advance and stored in the fridge. Just bring it to room temperature before baking.
- Storage & Freezing – Store leftovers in an airtight container at room temperature for up to 2 days, refrigerate for up to a week, or freeze slices for up to a month.
Common Questions
Can I make this gluten-free? Yes! Swap out the all-purpose flour for almond flour or omit it entirely for a flourless version.
What if I don’t have a round cake pan? You can use a springform pan or even a square baking dish, though baking times may vary slightly.
Can I reduce the sugar? Yes, but it may slightly alter the texture. Using 150g of sugar instead of 180g still yields a great result.
How do I get the molten center effect? Bake for 5-7 minutes less for a gooey, lava-like consistency.
Can I add nuts or toppings? Absolutely! Chopped hazelnuts, almonds, or a dusting of cocoa powder make great additions.
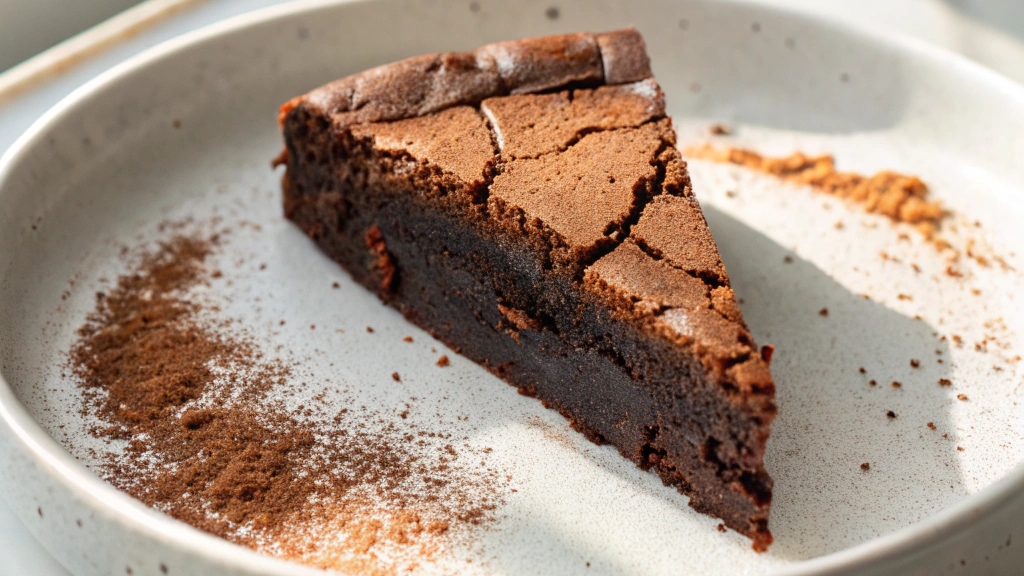
2. Heavenly Flourless Chocolate Cake: The Ultimate Melt-in-Your-Mouth Delight
If you’ve ever dreamed of a chocolate cake so rich and velvety that it literally melts in your mouth, then this flourless chocolate cake is your dream come true.
Unlike traditional cakes, this one has no flour, which gives it an incredibly smooth, fudgy texture that dissolves with every bite.
Made with simple ingredients but packing an intense chocolate flavor, this cake is perfect for any special occasion—or just when you need a little indulgence.
What Makes This Recipe Special?
This cake is a chocoholic’s paradise. It uses only a handful of ingredients—chocolate, butter, eggs, and sugar—but achieves a sophisticated, restaurant-quality texture that feels both dense and airy at the same time.
It’s naturally gluten-free, making it perfect for those with dietary restrictions, and requires minimal effort while delivering maximum flavor.
Plus, it can be served warm for a gooey lava-like center or chilled for a firm yet velvety bite.
Related Article:
Why You’ll Love This Recipe:
This cake is ideal for chocolate lovers who crave a dessert with deep, intense flavor. The lack of flour means that every bite is purely chocolate-forward, with a silky, melt-in-your-mouth consistency. You don’t need fancy techniques—just a love for rich, decadent treats.
Serve it with fresh berries, whipped cream, or a dusting of cocoa powder for an effortlessly elegant dessert.
Essential Information
Prep Time: 20 minutes
Cook Time: 30 minutes
Cooling Time: 1 hour
Total Time: 1 hour 50 minutes
Yield: 8 slices
Serving Size: One 8-inch cake
Shelf Life: Best enjoyed within 3 days
Storage: Store in an airtight container at room temperature for up to 2 days, refrigerate for up to a week, or freeze for up to a month.
Equipment Needed
- Mixing Bowls: Medium and large sizes for easy ingredient preparation.
- Double Boiler or Microwave-Safe Bowl: For melting chocolate and butter.
- Whisk or Electric Mixer: Helps create a light texture.
- Spatula: Essential for folding ingredients smoothly.
- 8-inch Springform Pan: Ideal for easy removal.
- Parchment Paper: Ensures easy release from the pan.
Related Article:
Ingredients
Main Components
- 200g (7 oz) dark chocolate (at least 70% cocoa), chopped – The higher the cocoa content, the richer the cake.
- 150g (3/4 cup) unsalted butter, diced – Adds richness and creaminess.
- 150g (3/4 cup) granulated sugar – Balances the deep chocolate flavor.
- 4 large eggs – Gives the cake its structure and smooth texture.
- 1 tsp vanilla extract – Enhances the chocolatey depth.
- A pinch of salt – Elevates the overall flavor profile.
Optional Add-ins
- 1 tbsp espresso powder – Intensifies the chocolate flavor.
- A splash of rum or coffee liqueur – Adds a touch of complexity.
- Zest of one orange – Gives a bright, citrusy contrast.
Instructions
- Preheat & Prep – Preheat your oven to 175°C (350°F). Grease and line the bottom of an 8-inch springform pan with parchment paper.
- Melt Chocolate & Butter – Using a double boiler or microwave, melt the chopped chocolate and butter together, stirring until smooth. Let it cool slightly.
- Whisk Eggs & Sugar – In a separate bowl, whisk together the eggs and sugar until pale and slightly thickened.
- Combine Mixtures – Slowly pour the melted chocolate into the egg mixture, stirring continuously to prevent curdling.
- Add Flavorings – Stir in the vanilla extract, salt, and any optional add-ins.
- Bake – Pour the batter into the prepared pan and bake for about 30 minutes, or until the top is set and a toothpick inserted in the center comes out with moist crumbs.
- Cool & Serve – Let the cake cool in the pan for 10 minutes before transferring it to a cooling rack. Serve warm for a molten center or chill for a firm, fudgy texture.
Pro Tips for Success
- Use High-Quality Chocolate – Since chocolate is the star, opt for the best quality you can find.
- Don’t Overbake! – The center should still be slightly soft when removed from the oven to maintain the signature melt-in-your-mouth texture.
- Make Ahead – This cake tastes even better the next day as the flavors deepen. Simply wrap it well and store it in the fridge.
- Storage & Freezing – Store at room temperature for up to 2 days, refrigerate for up to a week, or freeze slices for a month.
Related Article:
The Secret 5-Ingredient Pasta Recipe Even Chefs Won’t Tell You
Common Questions
Can I make this dairy-free? Yes! Swap the butter for coconut oil or a vegan butter alternative.
What if I don’t have a springform pan? A regular cake pan works, but lining it with parchment will help with removal.
Can I reduce the sugar? Yes, reducing it to 120g (just over 1/2 cup) still gives great results.
How do I get a lava cake effect? Bake it for 5 minutes less, and serve warm for a gooey center.
Can I add toppings? Absolutely! A dusting of cocoa powder, powdered sugar, or a drizzle of ganache makes it extra special.